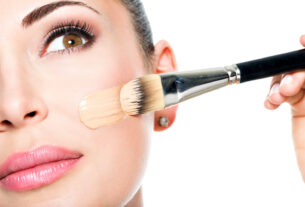
A tidy, traditional red manicure never fails to make a client feel more polished. But what happens when they’re prepared to take things seriously? You may create dynamic nail art that will impress any client by experimenting with different colors, application techniques, and supplies.
Some of the best nail art tips we’ve ever received from the nail art industry are included here. Try one of them the next time you’re in a creative mood.
Creative Nail Art Tips
Here are some useful nail art tips for you.
1. Expand Your Library
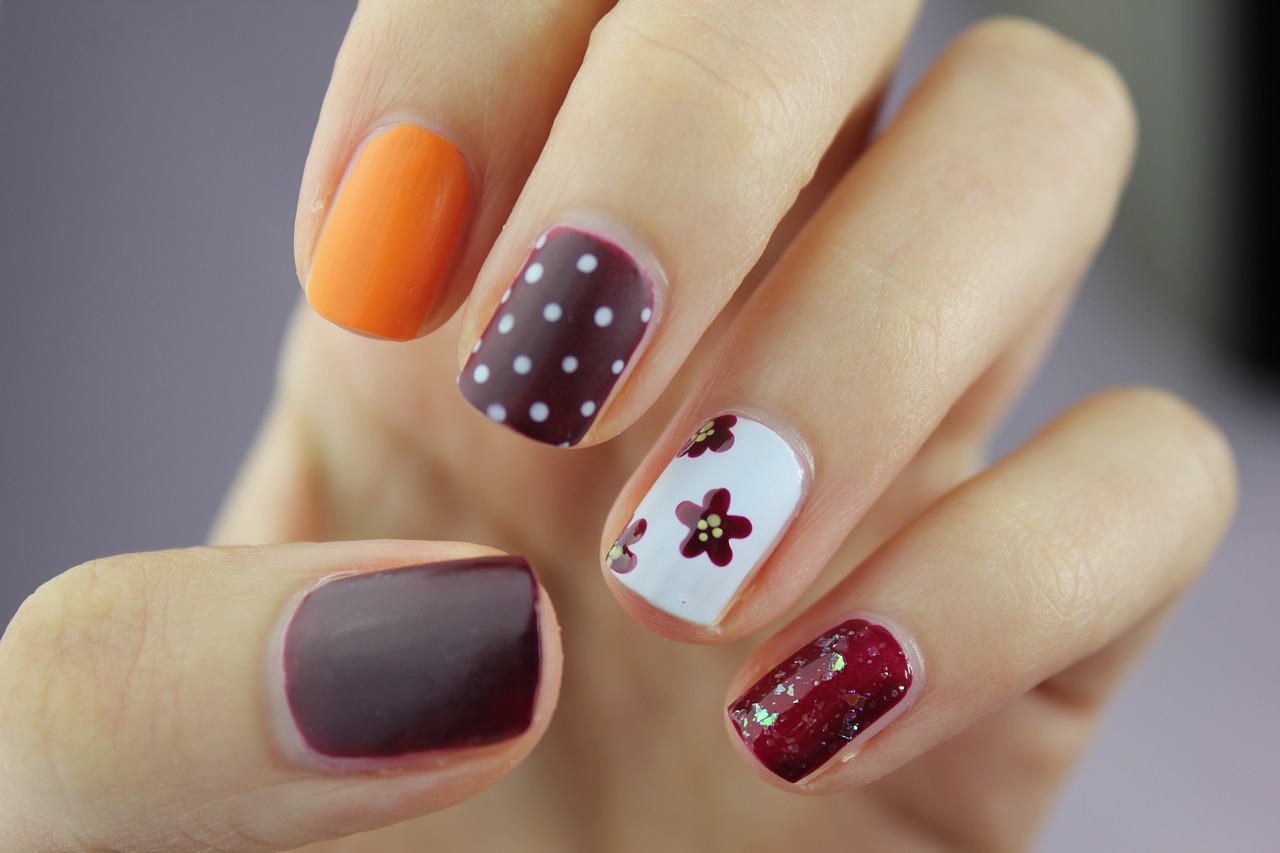
Do you wish you had some new shades in your nail polish collection? It’s time to try out some layered looks! You can create new, unique hues by layering different colors. When layering, the more opaque shade should be applied first, followed by the sheerer shade.
2. Take It Tinted
One of the greatest trends right now is transparent tints, which can be used to instantly upgrade even the most basic manicure. The perfect tinted manicure for layered nail art ideas, stained-glass effects, and more may be achieved by combining a clear topcoat with a bright color.
3. Embrace the Shine
If you want to spice up a regular manicure, you’ve come to the right place! Mixing loose sparkles or shards of glitter with a few drops of topcoat is an easy way to create custom glitter topcoats. Nail art palettes or aluminum foil can be used to mix the colors before being applied with a flat brush. Rapid ostentation!
4. Make It Pop
Neon and transparent colors can be overwhelming when used alone. If you feel that your nail paint isn’t standing out enough, a neutral base coat may be the answer. This base coat creates an ideal environment for the polish to shine brighter and increase pigmentation.
5. Embrace Your Product with Sugaring
Make good use of the curing time when applying gel polish. After applying the gel, but before it cures, it can be shaped in a variety of ways. Sprinkle glitter into the uncured polish for a sugared appearance, then use a clean brush to remove any excess glitter. When you’re satisfied with the result, you can cure the gel to permanently set the pattern.
6. Be Patient
When doing nail art by hand, the uniformity of your polish is crucial. A thicker consistency, whether in gel polish or lacquer, is more workable, retains its shape on the nail better and is more opaque. Droplets of polish should be spread out and left for 30 seconds to 1 minute to let the solvents dissipate. This can assist your nail polish to thicken up to the right consistency before you dip your brush into it.
Confidence in doing new things with your products and color palette comes from familiarity. Clients will admire your originality if you’re not afraid to try new things out. If you want to level up your manicure game, try using some of these nail art tips as a foundation.
Final Notes
By following these nail art tips, you can create beautiful and unique nail art designs that will make your nails stand out. Remember to take your time and practice, and don’t be afraid to experiment with different colors and designs. With a little bit of patience and creativity, you can create stunning nail art that will impress everyone around you.